Clarity, Field of View and Eye Relief: What Matters in Real Conditions: A Step-by-Step Practical Guide
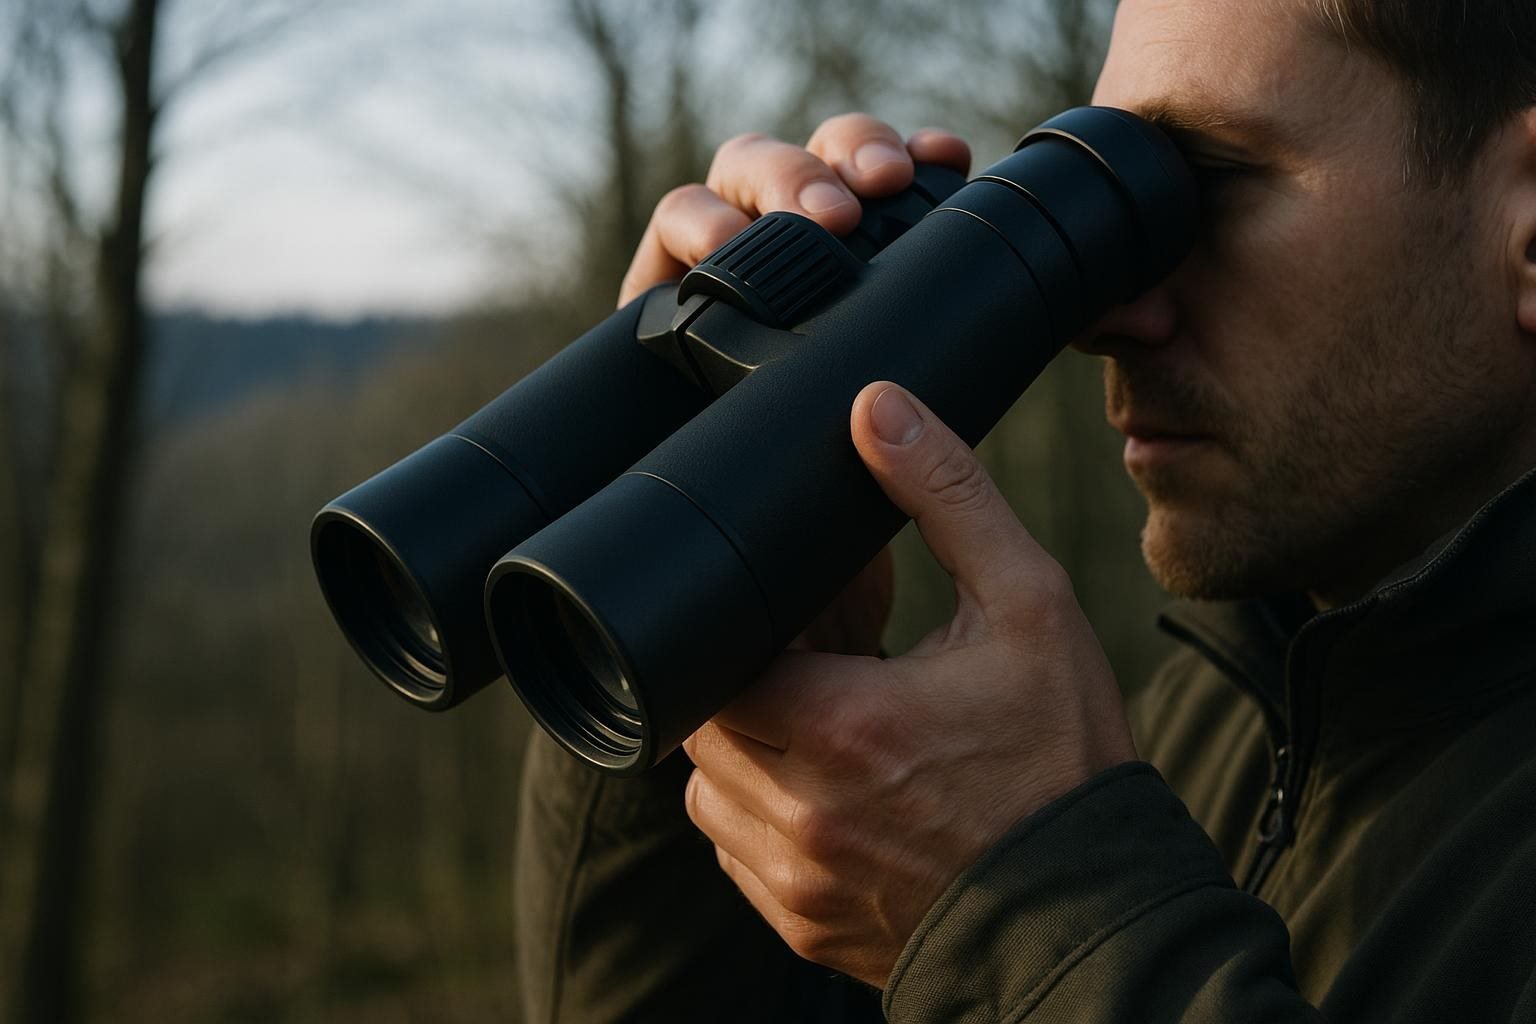
A scope or pair of binoculars can look excellent on paper yet frustrate you in the field. The problem is often a mismatch between the instrument, your position and the conditions. A narrow view can cost time, excessive magnification can make a moving subject difficult to find, and poor eye placement can turn a clear image into a dark crescent. Evaluate clarity, field of view and eye relief as connected parts of the same observation task.
Start with the observation, not the specification sheet
Before comparing models, describe the job plainly. Will you glass from a fixed position, scan while walking, identify animals in thick cover or use a riflescope from an awkward field position? The answer determines which compromises are acceptable.
For binoculars, a broad field of view can make scanning more efficient because you need less head movement to follow a subject. That may matter more than maximum magnification in woodland or broken terrain. Higher magnification can help with distant identification, but it also makes hand movement more obvious and can slow subject acquisition.
A riflescope has different priorities. A generous field of view may help when tracking a nearby or moving target, while a stable rest and deliberate shot may make fine detail at greater distance more valuable. Neither is automatically superior. Base your choice on the positions, distances and light levels you realistically expect, not the largest number in a product name.
Check optical clarity where it actually fails
Optical clarity is more than a sharp center. Look for usable detail across the image, sensible contrast and a view that remains comfortable as light fades. An image that looks bright indoors may reveal flare, haze or soft edges when pointed toward a bright sky, pale field or shaded treeline.
Focus on a distant, textured subject such as branches, grass or roof tiles. Check fine detail near the center, then move your eyes without moving the instrument. Notice whether the edges remain reasonably defined or become distracting. Repeat the test in lower light if possible. The goal is not a laboratory score but identifying when the image stops helping you.
Check for stray light by aiming near, but not directly into, a bright source. Look for veiling glare or washed-out contrast. A scope that is crisp in shade may be less useful when the sun is low ahead of you. With night vision or other low-light equipment, the viewing system and controls can affect the result as much as the glass. Assess the complete setup rather than assuming one specification predicts performance.
Treat field of view as a finding tool
Field of view is not simply a case of more being better. It is a speed and orientation advantage that may be traded against magnification, size or another optical priority. A wider view helps you locate a subject, maintain awareness around it and follow movement. A tighter view can support detailed inspection once the subject is centered.
Test it by lowering the optic, looking at a known area, raising it and finding the same feature without searching. Repeat from a standing, seated or supported position that reflects your likely use. If you repeatedly lose the subject, the problem may be magnification, eye placement or field of view rather than sharpness.
For binoculars, consider how much scanning you do before choosing a higher-power design. For a scope, consider whether you can change magnification quickly and return to a usable sight picture. Controls should be reachable without breaking your position and easy to confirm by touch and sight. A specification matters only when it improves a task you actually perform.
Verify eye relief and eye position before committing
Eye relief is the distance between your eye and the ocular lens at which the full image is visible. Too little usable relief can make the sight picture fussy when your head position changes. You may see a dark ring, clipped edges or only part of the image when mounting the optic inconsistently.
Set the instrument in the position you would use outside. With a scope, check it from the shoulder and from more than one supported stance. Move your head slightly forward, backward and side to side. The full image should appear without a strained neck or a search for one exact spot. If you wear glasses, test with them on; the usable view can change.
For binoculars, adjust the interpupillary distance until the two circular images merge naturally. Set the diopter for your eyes rather than accepting the factory position. If your eyes tire quickly or you keep seeing blackouts, the issue may be adjustment rather than defective glass.
Do not treat eye relief as an isolated comfort figure. Mounting position, stock shape, facial structure, glasses and shooting posture all affect the result. Safety or legal requirements for firearm use, hunting or night-vision equipment vary by jurisdiction, so check current official guidance before use.
Use one short verification checklist
When comparing two optics in person:
– Focus on a distant, detailed subject and check center and edge clarity.
– Test changing light, including a bright area just outside the viewing direction.
– Raise the optic repeatedly and see how quickly you find the same feature.
– Check the full image from your normal position, then from a less-than-perfect one.
– Test with the glasses, gloves or other equipment you will actually use.
– Adjust focus, magnification and diopter controls, noting whether they are precise and easy to operate.
– Record the first limitation you notice: glare, narrow view, poor eye position or insufficient detail.
That last observation is often the most useful. If you lose the subject before inspecting it, prioritize field of view and handling. If you find it easily but cannot separate detail in dim light, investigate clarity, contrast and your realistic viewing distance. If the image disappears whenever your position changes, address eye relief and setup before seeking higher magnification.
The right optic is the one whose compromises fit the work. Compare it in the posture, light and clothing you expect to use, and let repeatable checks outweigh impressive but isolated specifications.